Tutorial: Getting Started with Cloud Foundry – Part 2/3
Monday July 30, 2012 , 2 min Read
Login to CloudFoundry.com and generate a token to initialize the Micro Cloud Foundry. Enter a unique name and click the create button. This will create a unique domain which will act as the endpoint for vmc. Make a note of the token that is generated. We need this to configure the Micro Cloud Foundry.


Switch to Micro Cloud Foundry and select option 6 to disable the offline mode.

Make sure that the Micro Cloud Foundry is online.
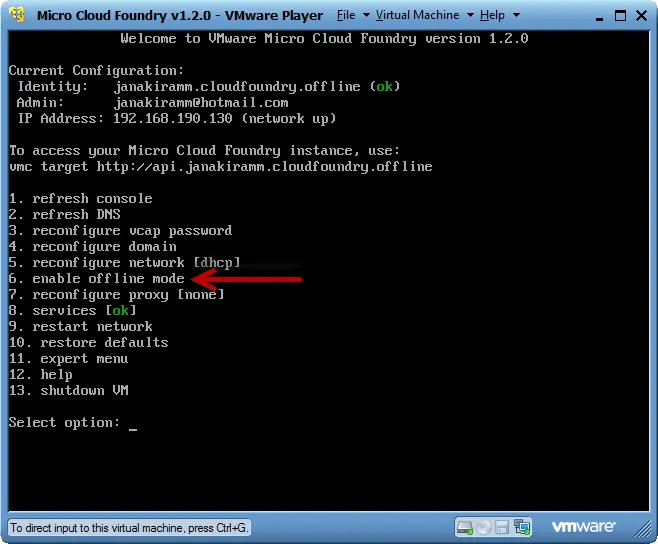
Now, select option 4 to reconfigure the domain. Enter the token generated at Cloudfoundry.com.


After restarting all the services, Micro Cloud Foundry should now be wired to the domain that was created for us at CloudFoundry.com.
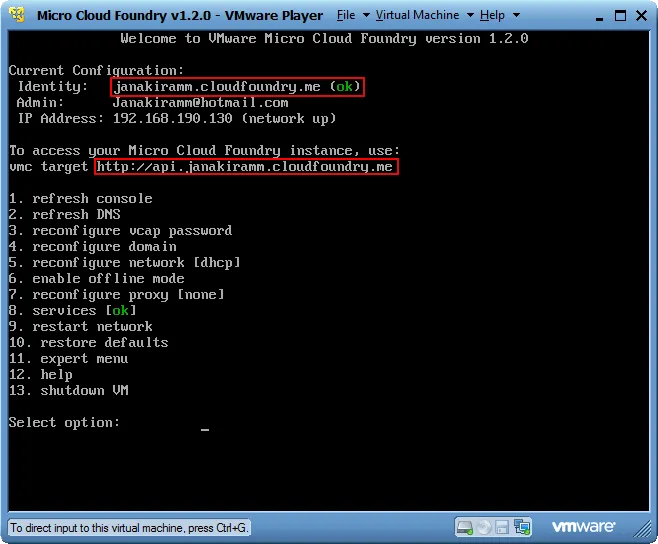
We notice that the identify URL and API endpoint are now reflecting the new domain name.
It’s time for us to point vmc to the new URL and login with the user that we created earlier.
[crayon lang="shell"]
vmc target http://api.janakiramm.cloudfoundry.me
vmc login
[/crayon]

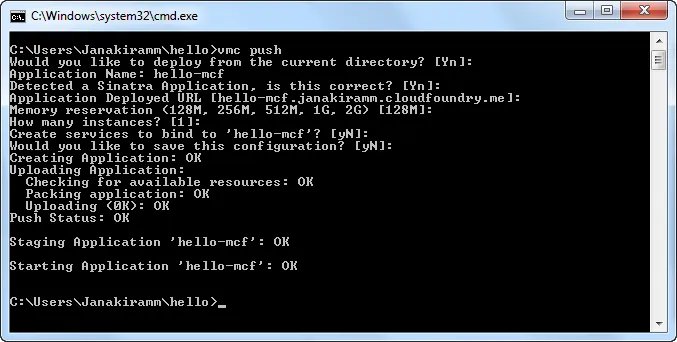
Let’s deploy the Ruby application to the new configuration. Let’s call this hello-mcf!
[crayon lang="shell"]
vmc push
[/crayon]
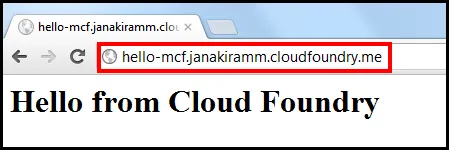
t is time for us to open the browser and access the application through the Internet. We type hello-mcf.cloudfoundry.me to access the app.
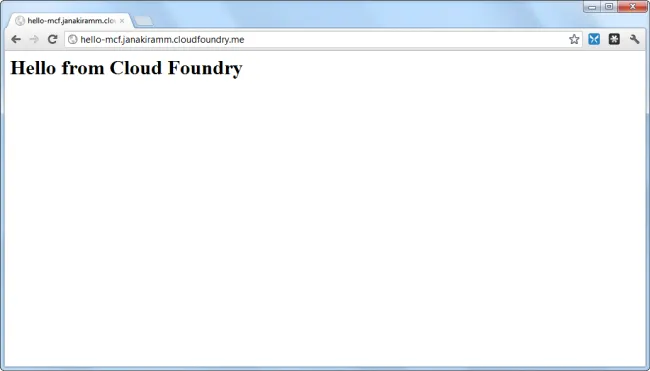
Notice that the application is now accessible through the public DNS name.
In the next part, we will target cloudfoundry.com to deploy the same application. Stay tuned!
- Janakiram MSV, Chief Editor, CloudStory.in
MOST VIEWED STORIES