
Is parallels desktop the best virtualization product for Mac?

While Apple’s macOS is better optimized than Microsoft Windows is, in terms of speed and battery life, the latter has something which no Mac user cannot deny. The number of users, and of course, in turn, the number of available applications.
There are mac apps which act as alternatives for the majority of Windows programs, but this is not always the case. Some are simply irreplaceable, and this is evidenced by Boot Camp. Apple has included Boot Camp in every mac machine, for one reason, to allow the user to run Windows on the machine.
Not only does it offer native drive support, but is officially tested to run Microsoft’s OS without flaws. But this comes at a cost, not monetarily, but time-wise, and also in convenience. You see, though Boot Camp is a real blessing for a new mac user, it sure is a pain when you have finished working in Windows , and you want to use a mac app. You have to reboot the machine and repeat the process every time you want to switch between the two operating systems.

The only way to avoid is by emulating the OS, on your system. You could use the iTunes App Store, to download a copy of macOS, and emulate it on your PC. But this only applies to Windows computers. If you only have a mac machine, the best way to accomplish the same, is by installing Windows in a virtual machine.
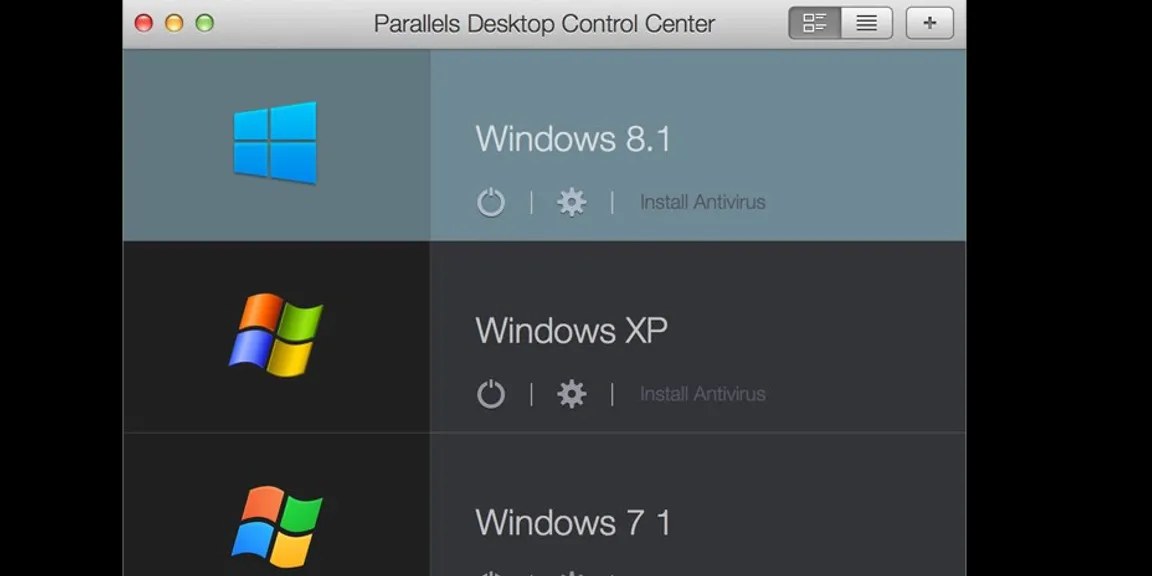
The one which we use is called Parallels Desktop for Mac, and here is why it excels among virtual machines.
Unlike most virtual machines which are often complex and hence makes users stay away from them, Parallels Desktop is very very user friendly. You can use it just like a normal mac app.
Surely installing an operating system inside another, must be a complicated process, and requires advanced knowledge, right? Absolutely not, the install process of Windows, is much simpler than you think.
When you have installed Parallels Desktop on your Mac, you can install Windows on the machine using one of the following options:
1. A Windows ISO image.
2. A Windows DVD.
3. Import existing Windows installation from your PC.
4. Import existing Windows installation from Boot camp.
The first two options are the recommended choice, as it allows you to use Windows from scratch, letting you set it up with only the programs you want. Now, of course this process depends on you having a valid product key, required for activating Windows.
But, if you do not have one for Windows 10, you can buy one from Microsoft easily, and download a digital copy of the OS. You don’t have to search for store links or anything, as Parallels Desktop does have links to the official Microsoft Store built right into it, for your convenience. And should you wish to use older versions of Windows, like Windows 7, 8, 8.1, or Linux based operating systems, you can use the program with any of those.
It is not always easy to start fresh, sometimes you may just want to use the copy of Windows you have on your PC, with all programs, on your virtual machine, so that you are ready to work on your mac, in a matter of minutes. The third option, which we mentioned above, makes this possible in Parallels Desktop.
Finally, you can also choose to import a boot camp installation of Windows, which you have on your Mac, and let the app boot from it. This option, however, does have some disadvantages, as it won’t let you use some advanced features such as the lack of option to create snapshots, Rollback, pausing and compression.

Now, after installing your preferred version of Windows, you are going to need installing Windows applications in it. Simply double click the EXE installer and your programs will be installed, just like they do on your PC.
The next part, is of course, to run the installed programs. To do this, you have multiple options too. Either, you can boot Windows by clicking on the power option from the Control Center , or you can run an app by double clicking the icon of the program. Yes, you can place desktop shortcuts for these on the macOS dock too. Can you think of any other virtual machine, which can do the same?
Parallels Desktop will run the Windows program, by directly booting Windows, when you open a Windows program. This is quite time saving too. You can even use Windows in full screen mode inside macOS.
If that is astonishing, wait till you hear this. Parallels Desktop ‘s Coherence mode lets you use Windows and mac apps side by side, as if both are native to macOS. Switch between any app with ease, without having to reboot to macOS and Windows. Thanks to the virtual machine’s capacity to optimize the programs in real-time, your programs will run at their full speed, without lags. This is possible thanks to the program supports up to 8GB of vRAM, 4 virtual CPUs and 2GB of video memory for every virtual machine.
If you wish to use Finder, Mission Control etc, which are macOS apps, in your Windows programs, you can do that too. Similarly Windows 10’s Action Center notifications will be displayed in macOS too. This is not possible with any other VM app. You can drag and drop files between the two operating systems, or copy and paste text or files too.
Apart from this, you can share hardware like your Printer, USB memory sticks, external hard drives, as well as the pots on your Mac like the Firewire, Thunderbolt, USB Type-C ports between macOS and Windows.
Parallels Desktop can be downloaded from Parallel's website as a trial as well as CouponBuffer.com, Retailmenot.com, Coupons.com that sometimes also offer student deals and Parallels Coupons.
Microsoft Edge, the Windows Action Center, Cortana are a few features which will be available to you with Windows on your machine, thanks to Parallels Desktop for Mac.