Realistic Effect In 3DS Max
3DS Max, created by Autodesk, is mostly known for creating 3D Animations, Models, Games and Images.
There are steps to make realistic effects in 3DS Max which includes.
• Modelling
• Texturing
• Lighting
• Rigging
With the help of these steps one can acquire convincing results which can be further used in a game or a film.
3DS Max is largely used in a variety of fields.
Many motor car and bike companies use it to design a model before the real manufacturing begins.
3DS Max is very accurate and that’s why it is also used by interior designers and architectures.
It becomes very easy to broadcast the ideas on Max rather showing it with the help of a pen and a paper.
On 3DS Max the architecture or the interior designer can create a look alike building or the interior respectively with the help of the steps as mentioned above.
So with this blog I am going to put up the extra-ordinary features which Max possess and how MAAC is helping students learn and prosper their career.
There are questions from many people who are the unaware of the fact that what Max is all about?
What does it do? I will answer you briefly in three important steps and they are as follows:-
MODELLING, creating complex 3d forms
ANIMATION, creating video animations of models
RENDERING, creating visually stunning images of models
3DS Max runs on an interface that is strictly button based rather than programs like Auto cad that are mostly command based.
3DS Max is based by default in four different viewports.
The four viewports show four different views of the model space.
Working between multiple viewports at one can allow much more efficiency and flexibility in design.
The ability to see how the model looks in various views at one time is important to the final outcome.
To design a realistic or a look alike effect in Max you have to start with creating 3d models.
The modeling should be properly done as it is the base of any convincing project.
If there is any error in the modeling then the final outcome after rendering wouldn’t be eye-catching and thus failing to provide a realistic effect.
The wire segments while doing modeling should be in a continuous order.
The edges should be properly wielded because if not then there would be a problem during animation.
Then comes texturing.
The material editor tab is one of the most important parts of rendering.
In order to make a model look like something other than a gray box, a material must be created.
The new versions of 3DS Max have the “Slate Material Editor,” but the “Compact Material Editor” can be selected by the mode button.
3DS Max has many pre-made materials that can be used as is or easily customized.
To apply realistic textures to the raw 3d models, the best is to unwrap with a planner and then paint textures in Photoshop.
Painting textures are mostly done by texture artists.
The next step is followed by Lighting. In order to create realistic effects, lighting is very important.
It creates proper shadows and highlights the textures on the 3D models. 3DS Max is equipped with a default lighting feature.
Just like any other object you can create a separate lighting setup and modify the same according to your requirements.
Default Lighting
3DS Max provides you with a default lighting setup until and unless you switch on a particular light setup.
This allows you to create models and textures without having to worry about lighting the area first.
The default will automatically disappear as soon as a light is created and will reappear if the created light is deleted.
Rigging, which is the next step, is the process of creating a skeleton for a 3D model to make it move.
Rigging is done before animation because if the character is not rigged then it can’t be deformed or moved around.
Rigging involves few more sub-steps:-
• INVERSE KINEMATICS
• FORWARD KINEMATICS
• CONTROL CURVES
• CONSTRAINT
• DEFORMERS
• SKINNING
• FACIAL RIGGING
Animation, it helps you to animate characters and vehicles and create special effects for films, games and other broadcasts.
The basic step to create animation is very simple.
Turn on the Auto Key, and then move the time slider and then you transform objects to change its position, rotation, etc.
Animation requires patience as every frame is animated and each frame consists of many animations depending on the kind of project you are doing.
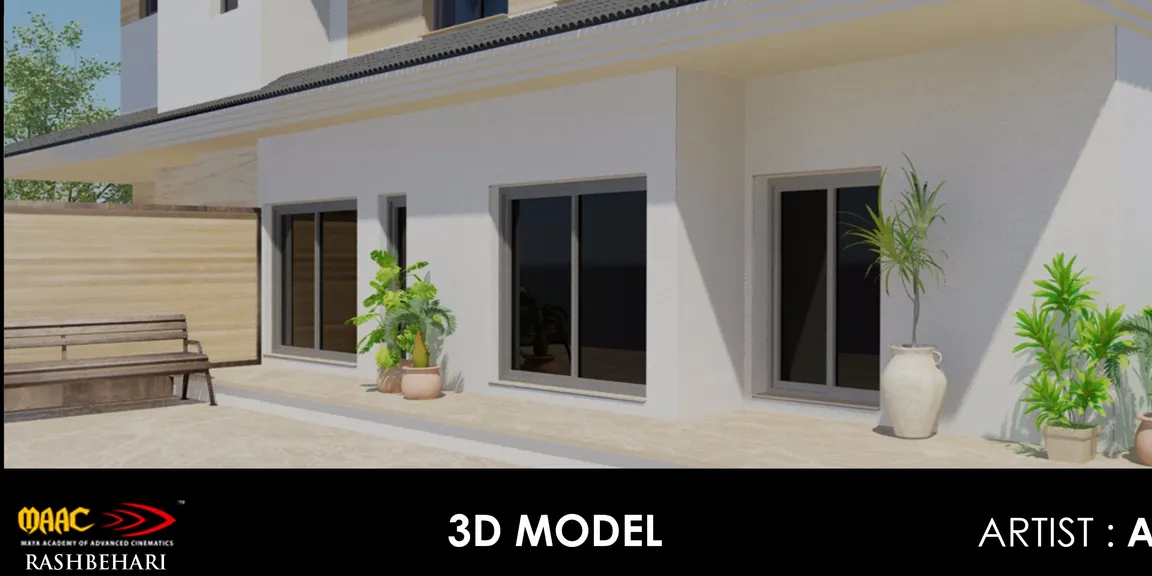
RENDERING, without this all the above process is useless.
3D rendering is the steps of output including shading, color and lamination to a 2D or 3D wireframe in order to create life images on screen.
This step includes no effort as everything is done by the system.
You just have to wait till the rendering is done and then you can enjoy the the realistic effects with life in it.
Rendering for 3D takes fairly a good amount of time as loads of effects are get-ting rendered.
The time taken by rendering depends on the memory of the system.
Higher the memory lesser the time. That is why professional work is done on super computers.

3d Model Animation Kolkata