Tutorial - Going Live with your First Application on Windows Azure - Part II
Friday February 17, 2012 , 2 min Read
In part 1 of this series, we have been through the process of signing up with Windows Azure. In this part, we will setup the development environment required to get started with your first Cloud application.
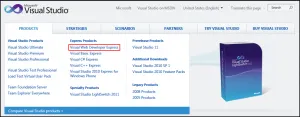
Firstly, you need to download and install Microsoft Visual Studio. For this, visit microsoft.com/visualstudio and click on Visual Web Developer Express from the Product link.
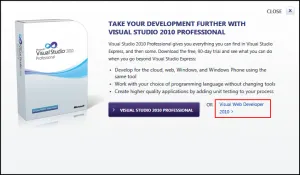
Click on Install to download the dependencies and the complete the installation of Visual Web Developer 2010 Express.

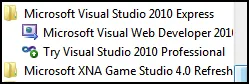
Just follow the steps to complete the installation. After a while, Visual Web Developer will be available in the Start menu.
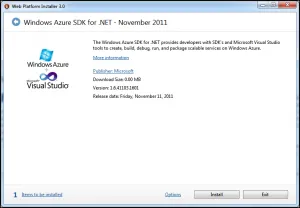
The next step is to download the Windows Azure SDK for .NET. Visit https://www.windowsazure.com/en-us/develop/net/ to download the SDK.

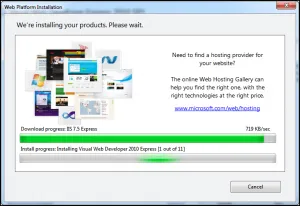
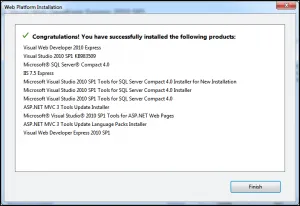
This will launch the Microsoft Web Platform Installer and after a few clicks, you should have Windows Azure SDK installed and integrated with Visual Studio Web Developer Express.
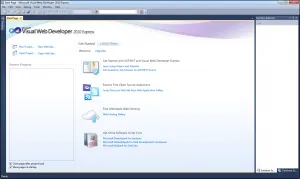
Launch Visual Studio Web Developer from the Start Menu.
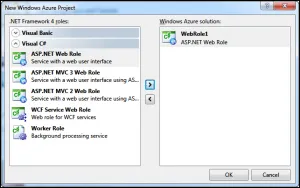
Click on File->New Project to open the New Project dialogue. From this select Cloud and give a name to the Project.
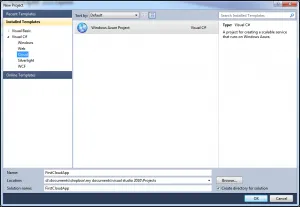
The next dialogue shows various options. Choose ASP.NET Web Role and add it to the Solution.
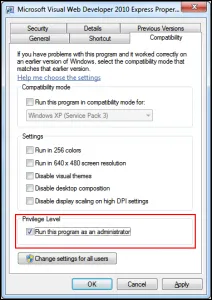
Before we launch the application, we need to restart Visual Web Developer Express in elevated mode. To do this, right click on Microsoft Visual Web Developer 2010 Express and open the properties. Click on the Compatibility tab and click the check box to run the program as an administrator.
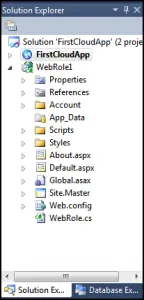
Restart Visual Web Developer 2010 Express and open the same Cloud project that you saved last time. We need not make any changes to the default project and launch it as is. As you notice in the Solution Explorer, The project has the complete web application which can be used as a starting point.
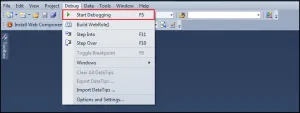
Let’s launch this by selecting Debug -> Start debugging.
This will launch the Windows Azure Emulator which includes both the Storage and the Compute emulator to test the applications locally.
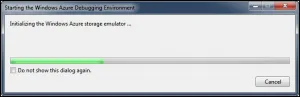
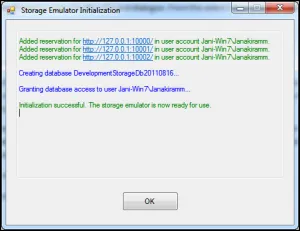
After the first time initialization is done, you can see the Windows Azure Emulator in the system tray.
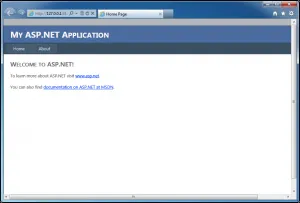
After few seconds, you will see Internet Explorer come up showing the ASP.NET page which is a part of our first Cloud application.
Congratulations! That was your first step towards the Cloud. In the next part, we will customize this application and deploy it on Windows Azure. Stay tuned!