


Web Designing involves a series of different steps and each step is crucial for the final output.
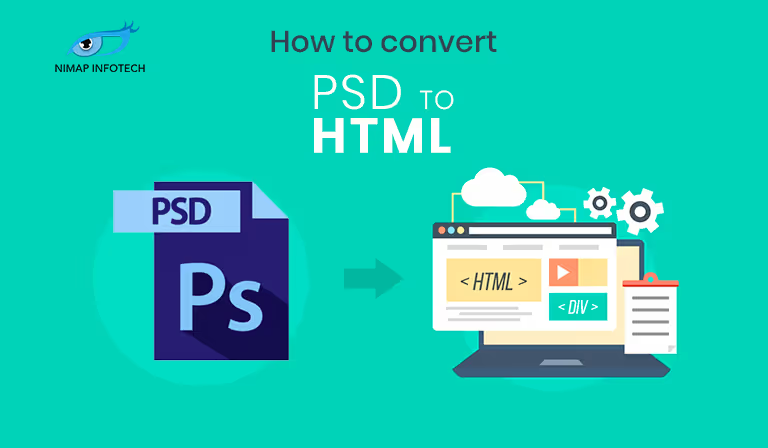
One of the most important steps is to convert any PSD file for your web design into its equivalent HTML output. This tutorial will outline the different steps involved in effectively converting any PSD file to a fully fledged HTML and CSS document for the web.
Before we start of with our journey, we need to have a clear understanding of the basics of web development. To begin with we need to know what exactly does PSD and HTML mean.
What Exactly is PSD?
PSD is the abbreviated form of PhotoShop Document. Photoshop is one of the most famous programs for any kind of image editing. You can create any kind of design you want and you can save it in any of the popular image formats.
The default file extension for PhotoShop document is .PSD. Web designers and web developers prefer to first create a basic design of a website in PhotoShop and then later convert the document into its equivalent HTML format. Many times, the designers do not handle the conversion job themselves, but it is upto the coding experts to manually generate the HTML and CSS content for the preferred PSD document.
What is HTML?
HTML stands for HyperText Markup Language. It is a language that is understood by the Internet Browsers. This is a famous language that has been used to create Web Pages for viewing. This coding language makes the use of Predefined tags. It is best to get familiarized with HTML if you want to convert your PSD document into HTML. There are various versions of HTML available and if you want to convert PSD to HTML you should make sure you use the latest version of HTML to ensure the highest compatibility of you pages with popular Internet Browsers. The current version of HTML is HTML5.
Web designing is a creative and innovative process and if you start to code your pages directly then you might lose the aesthetic appeal when you are designing. Moreover, it is difficult to judge where you are headed to without having a graphical representation of your webpage’s design.
Why can’t we code the HTML page directly?
This is one of the most frequently asked as well as raised questions when converting any PSD file to HTML. Why are we bearing all the trouble to create a PSD file and then breaking the PSD file into smaller sections and then coding the sections directly into HTML.
The answer is that it is rather easier to work with PSD document when you already have a vision of how the final web page is going to look alike. Another factor that is taken into consideration is that as a designer you get a lot of freedom to work with PhotoShop and to let your creativity loose. If you have to come up with innovative designs then you have to start working with PhotoShop rather than directly starting to code the HTML pages directly.
It is easier when you work with different color schemes in PhotoShop. You will get to experiment with how various elements can interact with one another as compared to starting to code the HTML pages directly. You will get to save time when starting to make the PhotoShop document of your design or a raw image of how your website shall look. Your design will become your implementation idea when you have a basic structure of your website in your hand.
Furthermore special effects cannot be created by only using coding. On the other hand PhotoShop gives you access to a wide range of advanced tools that can help you to decide the effects you want to provide to your website elements. Using these tools you can create stunning results which can be imported as image into your website.
Only the textual content is created in HTML, all the graphical aspects of your website will look best if you create a PSD version of it.
Different Approaches for converting Any PSD file to HTML.
When the need arises to strip your designs from PSD into HTML, there are various available options. It becomes essential if you get to know all the options you have in hand before you start converting your PSD document into its HTML equivalent.
Self Coding:
If you are a person that doesn't mind to code the HTML page yourself, you can try to generate the HTML code once you have the PSD document in your hand. This is the first approach.
Doing this task may demand some technical skills from your side. Even if you are not familiar with HTML code, you should try and familiarize yourself with HTML. You should be ready to explore and learn just the basics of HTML, so that you can get to handle the conversion job yourself
Automated Tools:
If you think that coding is not something you can handle, or you do not have the time to master the HTML coding yourself. Then you can seek help from automated PSD to HTML conversion tools. Even though these conversion tools do a fairly good job of generating the required HTML content for PSD documents, you cannot expect pixel perfect conversions here. If you do not mind sacrificing a little bit of the quality, you can opt for these conversion tools.
Getting Started With Your PSD To HTML Conversion
The presumption here is that you already have your design in the PSD format. Before you start the conversion process, you need to finalize the design. Making changes to your design after you have started the conversion process will only double the work involved. All the fine refinements that you would like to make should, therefore, be completed before commencing the conversion efforts.
In case, you are designing a website for your client, first get the approval of the design from your client before you commence the conversions so that you could save yourself unnecessary rework. PSD TO HTML conversion is a time-consuming process. Therefore, careful planning is crucial to avoid wasting time.
Coding the HTML document:
Make use of an HTML page builder such as Dream Weaver. Let us assume that you are creating the homepage of your website. Create a new file in Dreamweaver and name it as index.html and save it in your main folder.
The next step is to create your styles file. You can do this in DreamWeaver itself and save the new file as styles.css in the CSS folder, which you have already created. We need to create a style sheet that will give your HTML page all the required information regarding the stylistic features of the web page such as font size, font type, background color, the position of the images, margins, fieldset, etc.
The CSS style sheet should be linked to the HTML page for your preferred styles to reflect in the striped HTML page. Enter the name of the page in the title tag and link the stylesheet using the link tag. Make sure that you provide the right link in the ‘href’ tag.
Let us work with the stylesheet now. To start with, define the Class and wrapper.
Move to the PhotoShop file, pick up the background color code, and add it to your CSS file. This has to be part of your header in the CSS.
Switch to the HTML page, which you have already saved under the name, index.html. Define the header section in the HTML page. This has to be done within the tag. Create the ‘wrapper’ in between the header tag by defining the class as ‘wrapper’.
If you have not sliced the PSD file as yet as discussed earlier, now it is high time that you tighten your belt and started slicing the PSD so that you could call forth the appropriate images to the HTML file.
Slice the logo and save it as logo.jpg in the images folder. Create your anchor tag for the hyperlink in the home page. You can get to use the image tag to insert the logo picture into your HTML page. Choose the most suitable class for the image; in this case, it will be the ‘logo’ class.
Before you forget, you need to switch to the style sheet and define it in the CSS.
In your CSS provide appropriate padding for the correct positioning of the logo. You can find out the position of the logo from the top and from the left from your PSD file.
Create a new class in the CSS and make it float to the right. Also, set the page width and it is normally 920px.
Switch to the HTML page. Create a new section and use the same class name as the latest header class that you created in the CSS.
Switch back to the CSS and create a new class for the top links on your page. Set this class to float to the right. Measure the position of the links from the top in the PSD and the padding on the right. Declare these figures in the CSS.
Your CSS stylesheet will contain information about the background color of the top link.
Create new span tag in the HTML page under the section tag using the same class name that you created in the CSS. Give it a suitable class name. You need to remember here that the class names should be something meaningful and something that you will easily be able to recognize later what these classes stand for.
Presuming that you have a top link on your page, get the text of the top link from the PSD and paste it in the HTML. This has to be in turn declared in the CSS in terms of the font size, the color of the font, line size, padding, etc. Create the hyperlink for top link. Remember to save your work regularly so that you do not accidentally lose the work.
The next stage in the conversion process is the creation of the navigation menu. To create the navigation menu, you need to create an unordered list in the HTML page. Include all the pages in the unordered list. Let us consider as an example the following pages: Home, About Us, Services, Why Choose Us, Blog and Contact Us.
Move to the CSS file and add the stylistic attributes to your navigation menu. An important factor to remember here is to set the text decorations to ‘none’. If you forget to do this, default styling will be applied to the links in the navigation menu, which will convert all the hyperlinked menu items to blue, underlined font. This will affect your design, the aesthetic appeal, and the color scheme. Add the required margins, padding and float attribute to the navigation menu items. Remember to apply the stylistic attributes to all the menu items. Define the font family for the menu item elements or its text. If you do not define the font family then the page will assume default font style, which again may not suit your design and your theme.
If you have the coding expertise then you shall be easily able to generate the respective HTML code for your PSD design. We hope you enjoyed reading this tutorial blog, and found this blog useful for getting information on how to convert PSD files into HTML. You can check out our other blog topics. We always keep publishing useful content for our audience.
If you’re looking to hire HTML developers for any kind of web designing tasks then do contact us and we will get you in touch with our highly experienced Web Developers. If you have any queries about web designing in general, do comment back, and we shall respond back with a valid answer.
MOST VIEWED STORIES


