
How to use Instagram live in my business
Today we will reveal how to transmit live videos from your profile using Instagram Live, a new functionality to connect with our followers in real time. Instagram Live was born to compete with Periscope and Facebook Live. We recently explained how to create a live feedback counter on Facebook Live and now we will learn to use Instagram Live in our business.

Storytellers take Instagram
Instagram Stories is an Instagram feature that allows us to tell stories with 10-second photos and videos. This is achieved by sharing photos or videos that will disappear forever after 24 hours. These short stories will appear at the top of our followers' news feed. This new news service uses an algorithm similar to that of Facebook. Therefore, Instagram Stories allows us to stand out by staying at the top of our followers' feed.
Instagram live was born for going live
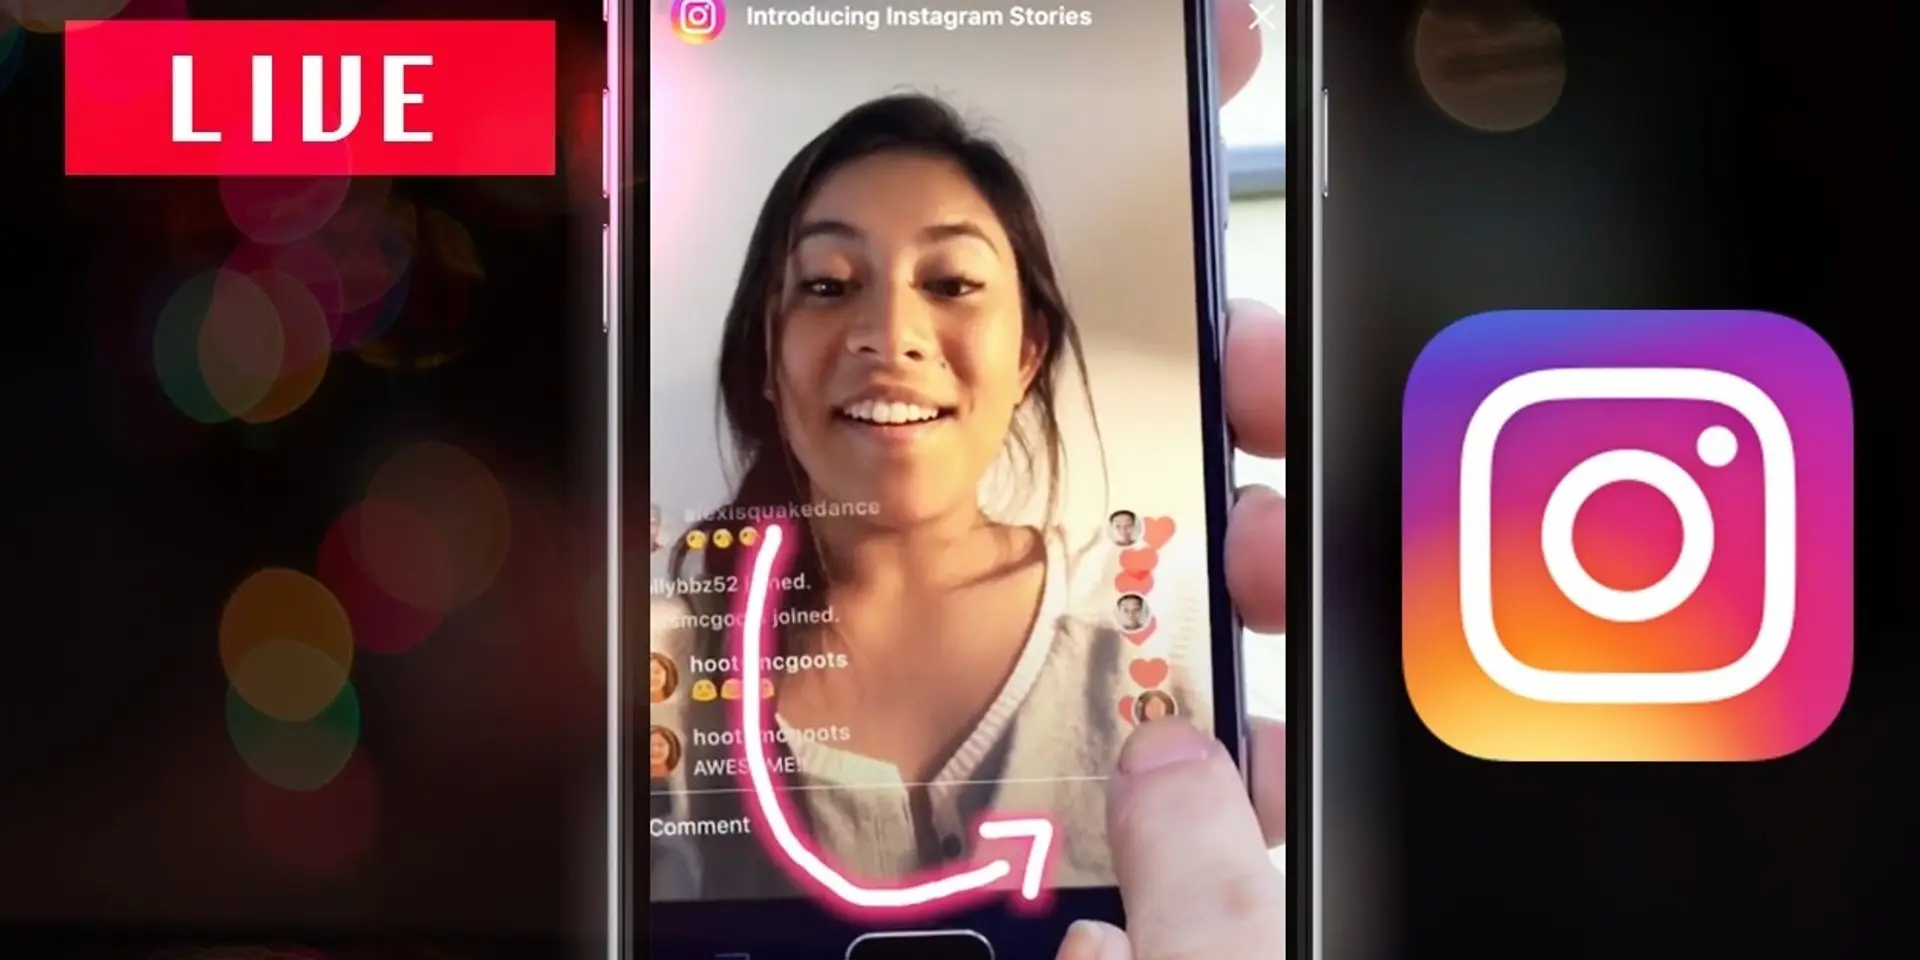
Instagram Live, as the name implies, is a feature to broadcast live and direct videos through Instagram Stories. The big difference with Periscope or with Facebook Live is that these live broadcasts cannot be saved. Upon completion of Instagram streaming, the video will be removed.
To access Instagram Live, just enter Instagram Stories and move left to "Live". Automatically, Instagram will notify our followers of the start of the transmission. Whoever wants to see live, will have the option to comment live, send emojis and mark with a "Like". Once we complete the live broadcast, the emitted video will disappear. The only way to save our transmission when using Instagram Live is with an application that records everything we do on the screen, as for iPhone ScreenFlow 6.
Tips for using Instagram Live in my business
The first thing we are going to keep in mind is what kind of videos or photos could interest our clients or prospects:
A video that gives clues to our audience about the benefits of a new product or service that we are going to offer.
Share undisclosed details of our company, products or services.
Show the behind the scenes of what happens in our offices, factories or distribution channels. In this way, we are humanizing our brand. You can try to buy Instagram live video views for your business promotion.
Ask for testimonials from clients live and direct
Show the celebration of the achievements of our business as we have done by reaching 500,000 fans on Facebook.
Share short photos or videos with reactions from our team to changes or developments in our industry.
Meet our most loyal followers: The great novelty in using Live Instagram is that these ephemeral videos give us total control over our audience. Because we can see live who are watching our broadcasts. This is an option that Snapchat does not offer yet.
Using Instagram Live is a great option to be more spontaneous and touch the emotional fibres of our followers.
Guide to use Instagram Live
Step 1: Enter Instagram Stories
First we will check if our Android or our iPhone has the latest Instagram update installed. Then, we'll open the Instagram application and, touching the screen, we'll slide our finger to the right to enter Instagram Stories. Here we will find 4 options:
Live: Option located on the left, which allows us to record live. Only available, for now, in some countries.
Normal: To capture photos or short videos that disappear in 24 hours. We can compose a story with several of these photos and mini videos of 10 seconds.
Boomerang: When playing Boomerang (the icon is the infinity symbol), we can take a series of photos that will be repeated back and forth. In this way, we created funny videos of photo sequences.
Hands-free: The "HANDS-FREE" mode is for recording videos without holding down the record button. The example of Instagram's official blog shows a girl playing the guitar and recording her video, without having to click on the screen.
Step 2: Configure privacy
By clicking on the configuration icon of the wheel or nut in the upper left, we can define:
What users do we want (or do not want) to see our stories?
Which users can send us messages about our stories.
The "Save photos" setting does not apply to live video. Live video will always be broadcast at the end of the broadcast.
When using Instagram Live (and Instagram Stories in general) we must keep in mind that the scope of our stories depends on our security settings. If our account is private, our stories will only be visible to our followers.
Step 3: Lights, cameras and action!
To use Instagram Live, we must go to the option that is on the left side Instagram Instagram. After having everything ready, we will click on Start Live Video to start broadcasting. Once we start, Instagram will notify our followers that we are broadcasting.
Key details of our live broadcast
If we are going to use Instagram Live, it is important to know the following details:
At the top of the screen, we can find out the number of viewers and users who have joined or left the live video.
If we click on the number of spectators, we will see who exactly form our audience.
If we want to prevent someone from watching us live, we can click on the "X" next to their username.
During the broadcast, we can encourage a live conversation by responding to comments from our audience.
If we want to close the comments live, we click on the three points in the background on the right.
To know how much time we have been transmitting, click on the "Live" button in the upper corner of the screen.
To end the transmission, we just have to press the "End" or "Finish" button.
At the end of the live broadcast, we will take a screenshot of the Instagram Live video analytics that are rolling with the number of viewers that our broadcast had. This data is not included yet in the general analytics of our Instagram profile.
Step 4: Share, edit or delete
When we have recorded a story in Instagram Stories, we have the following options:
Delete the photo or 10 seconds video that we just created.
Add this new fragment to our Instagram Story.
Save the photo or video on our mobile.
Send as a direct message to a person or group.
Edit with filters (click on the image and slide your finger to the left).
Add stickers, draw on top or include text.
By clicking on the number of viewers in our history, we can see how many and who were the users who saw each fragment. We will have the option to share in our profile the parts of our story that had the most viewers. In Instagram Stories we can add content created outside Instagram, as long as it has been captured within the last 24 hours. To insert external content, we will slide our finger down on the plant, until the last photos and videos saved in the gallery of our mobile appear.
Step 5: How does my audience see me?
When an Instagram user has the application open, you'll see some circles with the profile photos of those who posted a story on Instagram Stories.
Clicking on one of the circles displays the photo or video that user shared with Instagram Stories for 10 seconds.
Our followers who have not turned off live notifications will receive a message every time we post on Instagram Stories.
If we visit the profile of a user that is broadcasting on Instagram Stories, we will see a circle surrounding his profile picture. Clicking on the photo will display the history of this user.
If we have private messages enabled, we can receive private messages from users who are viewing our history.
For this reason, we must frequently check our message box and the follow-up requests (because there we can get comments from viewers).
Step 6: Retouch
Filters: Once we have recorded a video, we will slide our finger to the left to move between the different filters. For the moment, there are 7 filters that modify colours, tones, lighting, etc.
Sound: By default, Instagram Stories videos have sound activated. In the upper left corner of our video, we see the speaker icon, which we will press to eliminate the sound if we wish.
Drawings: Instagram Stories offers us the option to decorate our photos and videos with our own drawings. At the top right, we will see a brush that allows applying any stroke. When you click on this brush, the colours and the different thicknesses of the pen will appear.
Messages with printed letters: When you click on "Aa" in the top menu, the text box will open. Once written, we can move the text block to any part of the screen.
Mentions: When we add text to our history we can mention a user whose name will be underlined in the story.
Emojis: If we open a text box, we can insert the emoticons allowed by the keyboard of our mobile. Then, we can move them to any part of the screen, rotate them, increase them or decrease them in size.
Step 7: Follow the News
In the Instagram blog, we can keep up to date with the latest advances in this app:
Stickers: From this Christmas, Instagram Stories allows you to add stickers. The stickers button is in the upper right corner.
See more: When a person is viewing our story, they will have the option of "See More". Press up and we will see the link inside the app.


