

This is a user generated content for MyStory, a YourStory initiative to enable its community to contribute and have their voices heard. The views and writings here reflect that of the author and not of YourStory.

Tips to Prepare Artwork for T-shirt Printing Using T-shirt Design Software
Thursday August 24, 2017 , 4 min Read

This is a user generated content for MyStory, a YourStory initiative to enable its community to contribute and have their voices heard. The views and writings here reflect that of the author and not of YourStory.
undefined
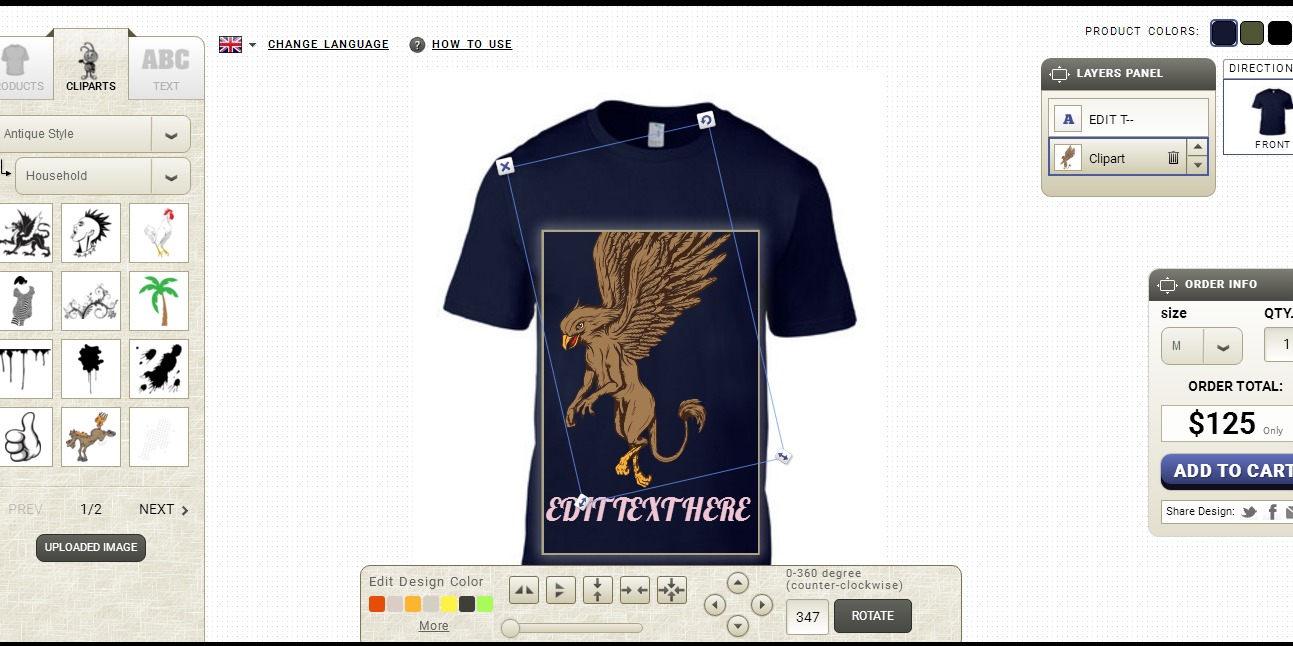
In today’s time, people are getting more inclined towards the customized products. They want to have more power when it comes to designing their t-shirts. As a result, it has become vital for the ecommerce stores to offer such benefits to their customers in order to stay ahead in the competition. Thanks to the t-shirt design software that made things simpler for both business owners and customers. Integration of such software to the site allows the end users to create stunning designs as per their wish without any kind of restriction. They can showcase their creativity to the world by getting those self designed t-shirts printed.
So, you are fully prepared to convert your unique design ideas into a finished piece of art ready for printing. Though, it may seem simple to prepare the artwork but there are few points that you may need to take into consideration before sending it off to the printer for making sure that you are satisfied with the results and not left with a pile of shirts that do not match your ideas.
Easy Steps To Prepare Artwork For Printing On T-shirts
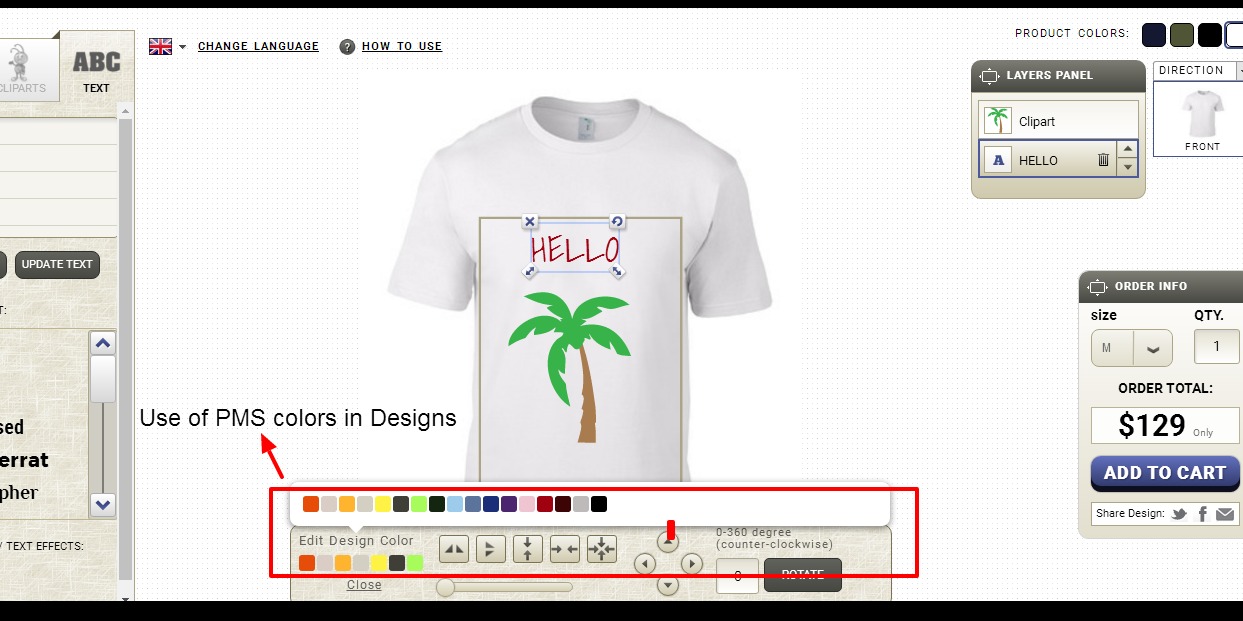
Make Use of PMS Color In Your Designs:
undefined
The users can do their artwork in RGB and CMYK color modes, but for ensuring the most apt color with a silk screener, PMS colors can be the perfect option. This makes the color separation easier as well as precise. Moreover, at the time of printing, no extra amount will be charged from the users for PMS color matching.
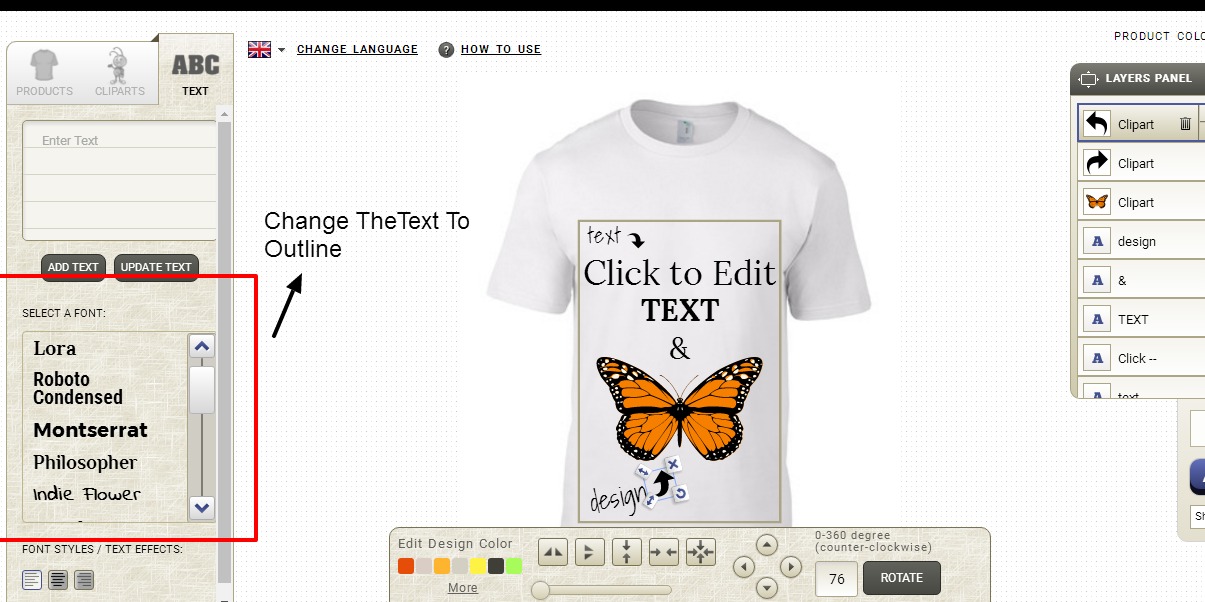
Change The Text To Outlines:
undefined
There are times when your artwork may require a very obscure font or may be even a custom designed font. When sending your t-shirt design layout for print, the last thing you will wish to see is the substituted font in the design. By modifying the texts to outlines, wherever you open the artwork, you will see the text as an image. Thus, no substitutions will be done.
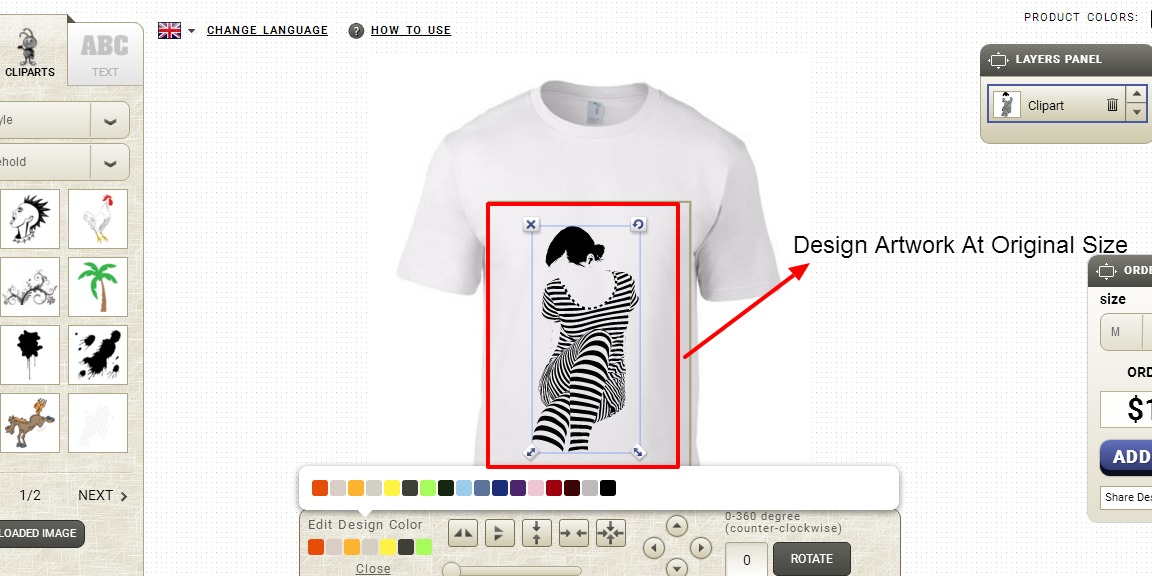
Design Your Artwork At Original Size:
undefined
It is advisable not to rely on the person who is going to print your apparels without discussing with them. This is because it is not necessary that the vision that you have for your end outcome will match with the printer. The best way to protect yourself from such situation is to design the t-shirt design layout in its final size using t-shirt design software.
Utilize Vector Artwork To The Fullest:
No offence against raster, but it is advisable to make use of vector artwork when possible. The benefit of using vector artwork is that it makes the color separations simpler and the print comes out cleaner in the short details. This is a very common phenomena for the everyday jobs and not automatic in every situations.
Extend Your Strokes:
If you have set all of the colors to PMS swatches properly, then the color separations software will be having no issue. This is mainly the human error that occurs because sometimes strokes are overlooked.
Set Your Half-Tones with PMS Colors:
Sometimes the design may require the usage of halftones for saving on the amount of colors printed. The perfect way for doing this is to slide the color scale down to a percentage of the PMS color. The rest of the task should be handled by the printer by making use of the color separation software.
Wrapping Up!
These are the basic six tips on how to arrange your t-shirt design for printing that should cover the majority of the issue that you might face. Such kind of arrangement must ensure a quicker turnaround time and a much more accurate print. It can be highly beneficial to have a good relationship with your printer no matter where you find them. They can provide you crucial advice and also spot mistakes before any t-shirts are printed.